The key to monitoring over time is consistency. Getting the basics right from the start will ensure you can compare your data year-on-year to show useful trends for your project.
The information on this page is designed primarily for basic rodent monitoring. For those looking to monitor for mustelids specifically, download our Practical guide to trapping (PDF, 5,592K) or our Guide to monitoring rodents and mustelids (PDF, 788K). For more information, talk to your Predator Free Ranger.
Backyard monitoring?
![]()
A volunteer installs a tracking tunnel
Image: DOC
The following guide is suitable for Predator Free 2050 (PF2050) community groups.
See also Trap predators in your backyard
How many lines and tunnels
Number of lines depending on area size
Up to 300 ha: 6–8
300–600 ha: 8–10
600–900 ha: 10–12
900–1,200 ha: 12–15
1,200–10,000 ha: 15–20
Number of tunnels per line: 10
Space between tunnels on each line: 50 m, and at least 200 m from the nearest monitoring line at its closest point.
Pick representative habitat
Choose places that represent the range of environment types in your protection area. For example, if 50% of your area is beech forest, put 50% of your monitoring lines in beech forest.
Don’t place your lines in a grid, but do run each one straight in a single direction.
Exclude bias
Don’t run lines along places that would introduce bias, such as trap/bait lines, roads, ridgelines and streams.
The best way to avoid bias in your monitoring lines is to randomise the direction each one runs. Roll a six-sided die and look up the number below. Run the line in the most practicable of the two bearings given.
1: 285°W or 105°E
2: 315°W or 135°E
3: 345°W or 165°E
4: 15°E or 195°W
5: 45°E or 225°W
6: 75°E or 255°W
Can’t decide between the two? Roll again and pick the westerly bearing if the result is an odd number, otherwise the easterly.
Plot on a map or with software
Plot your line locations before you head out, and consider practicality of access when picking a line’s starting point. Mark your locations on a map and store them in a portable GPS device if possible.
In the field
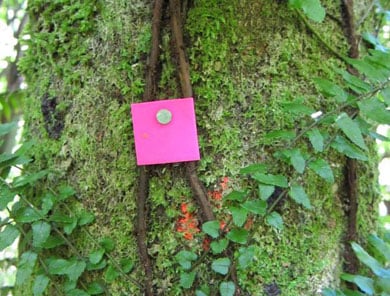
Pink is a popular choice for pest line markers
Image: Lauren Schaer ©
Place unset tunnels at least three weeks before your first survey. Resident animals should be used to them before you start monitoring. Leave the tunnels in place between surveys.
Equipment list
- Tracking tunnels, unassembled and bundled in groups of 10, plus any necessary tools
Make your own tracking tunnels or buy tracking tunnels and pre-inked papers. - Tunnel pegs – No. 8 wire loops, two per tunnel
- Waterproof marker pen
- Plastic markers and flagging tape, two colours
(Pink is a popular choice for pest line markers. Don’t use orange – it’s the colour used on recreational tracks.) - Hammer and nails
- GPS preloaded with start points, map
- Compass and distance measuring tool (eg, hip chain or non-stretch cord)
- Personal gear
Mark each line
- Use your GPS device or map to locate the line’s start point.
- Follow the randomly-generated compass bearing for the line and measure the distance travelled.
- Place markers and/or flagging tape along the line to make it easy and safe to follow. Label them with the line’s identifier.
- At 50 m, place a tunnel and collect your measuring line:
Place and mark each tunnel
- Look for a place that provides a good ‘run’ for small mammals.
- Assemble a tunnel and place it on reasonably level ground.
- Peg the tunnel down firmly to limit possum or stoat disturbance.
- Clear any obstructions from the tunnel ends.
- Label the tunnel clearly with the line and tunnel identifiers. Use a different coloured marker to make it easy to find.
- If the tunnel isn’t obvious from the track, add an indicating marker using the same colour as for the tunnel.
- Mark the location on your GPS device.
- Continue until you’ve installed 10 tunnels.
Great – now wait three weeks before you monitor using your tracking tunnels.